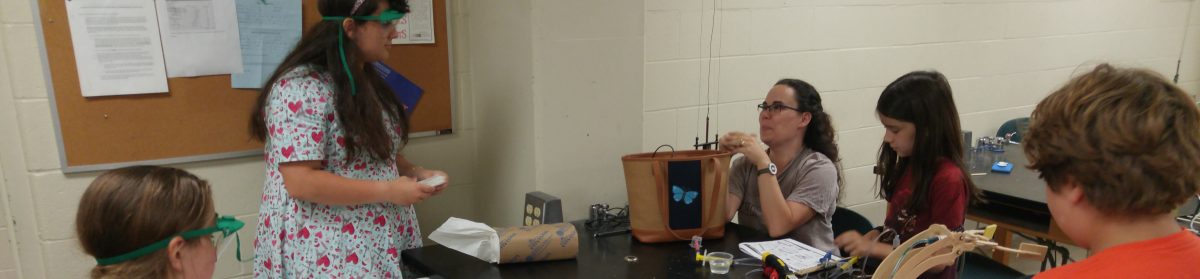
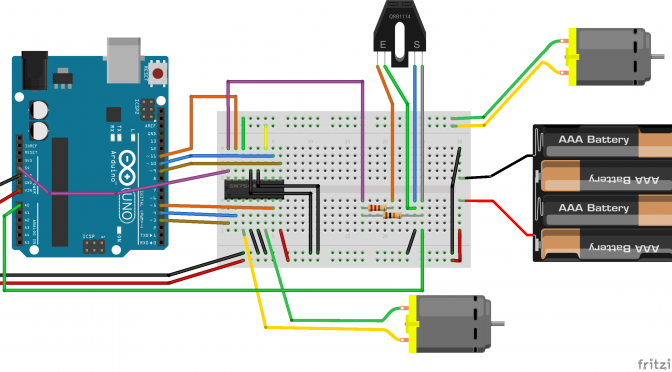
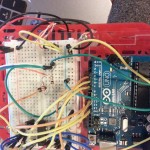
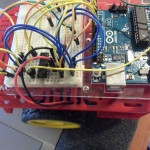
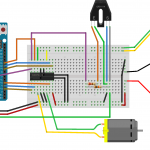
Here are the images of the completed Carduino and sketch of the board.
So some people have had trouble downloading the program, So I am going to link them from here.
just_forward.ino
on_line_only.ino
left_right_follow.ino
Here is the corresponding code
——————–
const int motora1Pin = 5; // H-bridge leg 1 (pin 2, 1A)

const int motora2Pin = 4; // H-bridge leg 2 (pin 7, 2A)

const int enableaPin = 3; // H-bridge enable pin
const int motorb1Pin = 11; // H-bridge leg 1 (pin 2, 1A)
const int motorb2Pin = 10; // H-bridge leg 2 (pin 7, 2A)
const int enablebPin = 9; // H-bridge enable pin
const int sensorIn = 0;
int firstSensorValue = 0;
int threshold = 0;
int turn_loop_counter = 0;
void setup() {
// put your setup code here, to run once:
firstSensorValue = analogRead(sensorIn);
threshold = firstSensorValue – 50;
// set all the other pins you’re using as outputs:
pinMode(motora1Pin, OUTPUT);
pinMode(motora2Pin, OUTPUT);
pinMode(enableaPin, OUTPUT);
// set all the other pins you’re using as outputs:
pinMode(motorb1Pin, OUTPUT);
pinMode(motorb2Pin, OUTPUT);
pinMode(enablebPin, OUTPUT);
write_motors(1, 0, 1, 0);
}
void loop() {
// put your main code here, to run repeatedly:
int sensor = analogRead(sensorIn);
if(sensor > threshold) {
write_motors(1, 128, 1, 128);
} else {
write_motors(1, 0, 1, 0);
}
}
void write_motors(int a_direction, int a_speed, int b_direction, int b_speed)
{
if(a_direction) {
digitalWrite(motora1Pin, LOW); // set leg 1 of the H-bridge low
digitalWrite(motora2Pin, HIGH); // set leg 2 of the H-bridge high
} else {
digitalWrite(motora1Pin, HIGH); // set leg 1 of the H-bridge low
digitalWrite(motora2Pin, LOW); // set leg 2 of the H-bridge high
}
if(b_direction) {
digitalWrite(motorb1Pin, LOW); // set leg 1 of the H-bridge low
digitalWrite(motorb2Pin, HIGH); // set leg 2 of the H-bridge high
} else {
digitalWrite(motorb1Pin, HIGH); // set leg 1 of the H-bridge low
digitalWrite(motorb2Pin, LOW); // set leg 2 of the H-bridge high
}
analogWrite(enableaPin, a_speed);
analogWrite(enablebPin, b_speed);
}